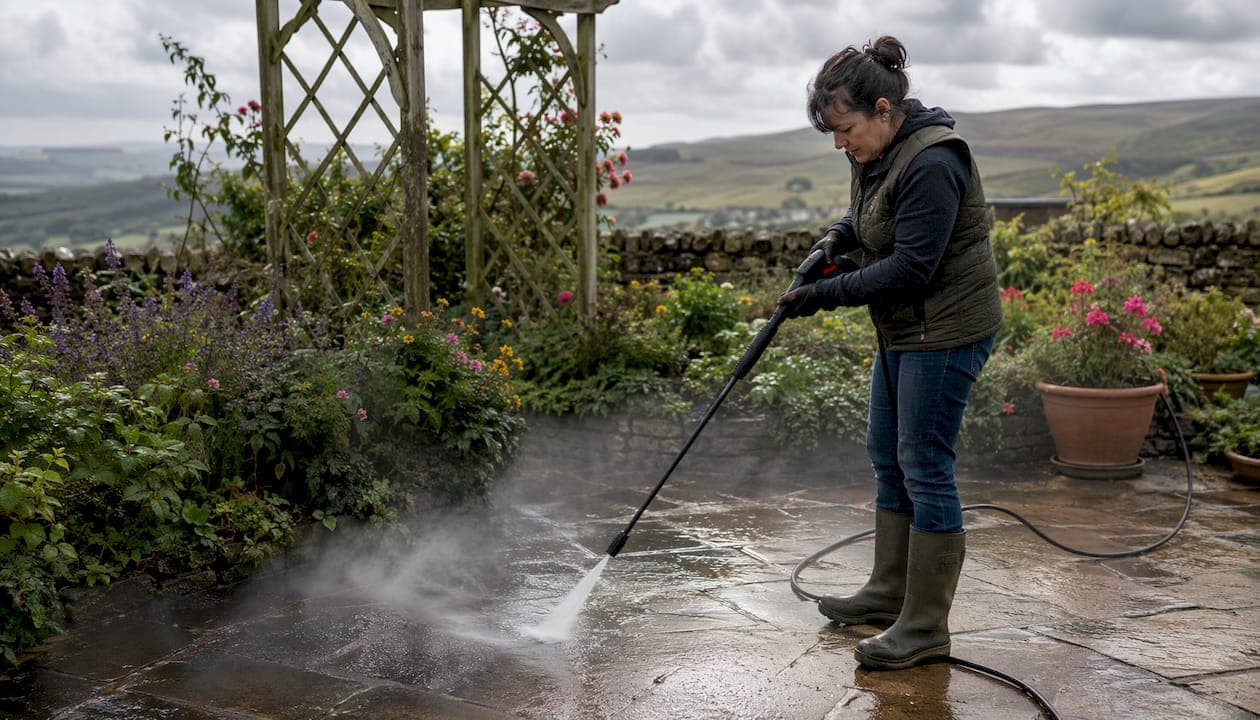
Power washing a patio means using high-pressure water jets, calibrated to your specific surface material, to remove algae, moss, staining, and ground-in dirt without causing damage. Done correctly, it transforms a slippery, discoloured patio into a clean, safe outdoor space. Done incorrectly, it strips joint sand, etches soft stone, and creates repairs that cost far more than the original clean.
Here is what you need to know before you start:
- Identify your patio material first. Concrete and porcelain tolerate 1,500–2,000 PSI; natural stone like sandstone needs under 1,200 PSI or manual scrubbing.
- Wear waterproofs, safety goggles, gloves, and sturdy footwear before you switch anything on.
- Always test pressure on a hidden corner first, starting at the lowest setting.
- Hold the lance at a 30–45 degree angle, approximately 30cm from the surface, and keep moving.
- Never hold the jet on one spot and never aim a zero-degree nozzle at patio slabs.
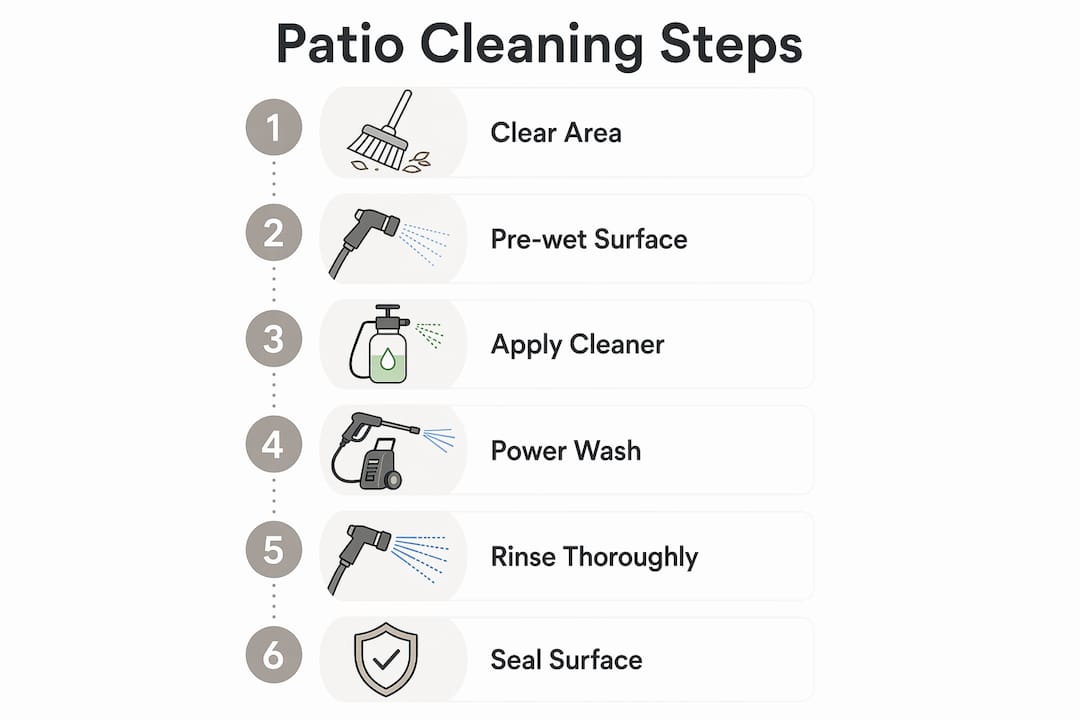
The basic sequence is: clear and sweep, pre-wet, apply cleaner if needed, wash from the highest point downward, rinse in two stages, and allow to dry fully before sealing or use.
How to power wash a patio: choosing the right pressure for your surface
Identifying your surface material before you begin is the single most important step in any patio cleaning job. Get this wrong and no amount of good technique will prevent damage.
Common UK patio materials and their tolerances:
- Concrete slabs: Handle pressure well. Use a pressure washer setting appropriate for hard surfaces with a 25-degree fan nozzle held about 30cm from the surface. Diluted bleach (1:10) works for stubborn staining.
- Porcelain: Similar tolerance to concrete. Use 1,500–2,000 PSI with a 25-degree nozzle. Avoid acid-based cleaners and abrasive pads.
- Block paving: Use lower pressure settings with a 25-degree nozzle, following the line of blocks rather than washing across joints. Plan to re-sand afterwards.
- Sandstone and limestone: These are soft and porous. Keep pressure under 1,200 PSI and use a wide 40-degree nozzle, or skip the pressure washer entirely and scrub by hand with a pH-neutral cleaner.
- Granite: The most forgiving natural stone. Tolerates higher pressure than sandstone and is generally safe to pressure wash.
Domestic electric pressure washers typically produce 1,400–2,100 PSI. If your machine exceeds the recommended setting for your surface, simply increase the nozzle-to-surface distance until the impact feels controlled on a test patch.
Pro Tip: Always test a small, inconspicuous area first, starting at approximately 1,200 PSI. Check for etching, discolouration, or surface change before proceeding to the full area.
Preparing your patio and surroundings before you start
Good preparation makes the actual washing faster and protects everything around the patio. Skipping this step is where most DIY jobs go wrong.
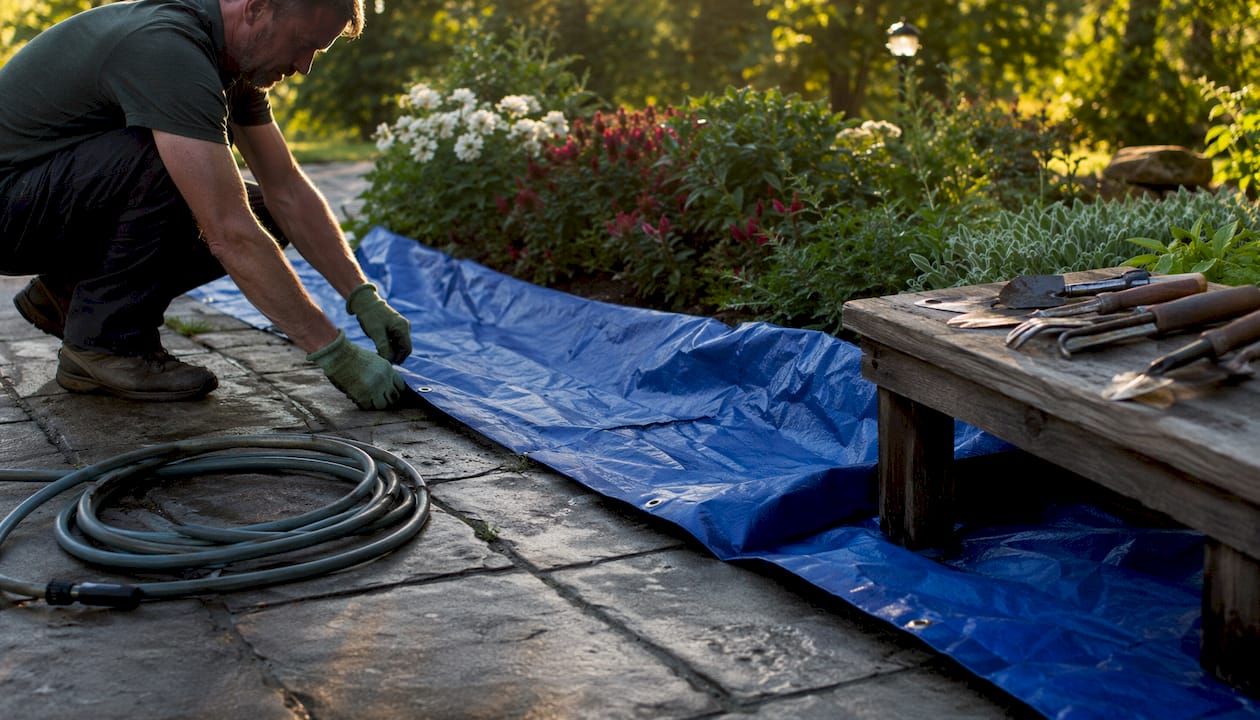
- Remove all furniture, plant pots, garden ornaments, and any loose items from the area.
- Cover anything too large to move with a tarpaulin or plastic sheeting.
- Sweep the patio thoroughly to remove loose debris, leaves, and grit. Loose material can become a projectile under pressure.
- Use a patio weeding tool or joint scraper to clear moss and weeds from joints before wetting the surface. Removing debris dry is far easier than fishing it out of wet cracks.
- Protect nearby plants and borders by covering them or wetting them down before you apply any cleaning products.
- Put on waterproofs, safety goggles, gloves, and heavy-duty footwear. Pressure washers spray in every direction.
- Check the weather forecast. Spring, from March to May, and early autumn offer the best conditions: mild temperatures, effective drying time, and low frost risk. Avoid cleaning when frost is forecast or during heavy rain.
Pro Tip: Direct your rinse water away from garden borders and drainage channels by planning the flow before you start. This protects plants and prevents dirty runoff from pooling near the house.
Step-by-step: power washing your patio properly
Follow this sequence and you will get a thorough clean without damaging the surface or the joints.
- Connect and set up your pressure washer. Attach the correct nozzle for your surface type. Connect the hose and water supply, pull the trigger briefly to let water run through, then plug into the mains.
- Pre-wet the patio evenly. A light pre-wet stops porous surfaces from absorbing cleaning chemicals too quickly and helps detergents spread more effectively.
- Apply detergent if using one. Follow the manufacturer's dilution rate and use a garden sprayer for even coverage. Leave the product to dwell for the recommended time. Do not let it dry on the surface.
- Start washing from the highest point. Work downward so dirty water flows away from areas you have already cleaned. Hold the lance at a 30–45 degree angle, approximately 30cm from the surface, and use steady, overlapping passes at a consistent speed.
- Keep moving at all times. Never hold the jet on one spot. Work diagonally across joints rather than directly into them to reduce the risk of stripping jointing sand.
- Rinse in two stages. The two-stage rinse first removes loosened dirt and detergent residue, then a final clean-water pass flushes any remaining chemicals. This prevents streaking and stops residue from attracting new dirt.
- Shut down safely. Turn off the washer, disconnect from the water supply, then squeeze the trigger once more to release residual pressure inside the machine.
- Allow the patio to dry fully before applying sealant or returning furniture to the area.
For a broader look at effective patio cleaning methods used across different surface types, the Sherrypropertycare blog covers local Dublin conditions in detail.
How do you clean patio joints and remove stubborn stains?
Joints are the most vulnerable part of any patio. Pressure washing directly into them loosens mortar, dislodges joint sand, and encourages weed regrowth within weeks.
- Clear weeds and debris from joints before washing, using a joint scraper or pointed patio tool. Do this dry, before any water is applied.
- Use a soft brush to work cleaner into joints rather than blasting them with the lance.
- For organic staining (algae, moss, lichen), biological cleaners are the safest option. They break down growth over 7–14 days and are safe for plants and drainage.
- For general grime on concrete or porcelain, diluted bleach at a 1:10 ratio is effective. Apply, leave to dwell, scrub if needed, then rinse thoroughly.
- For oil or grease stains, use a targeted degreaser rather than relying on pressure alone. High pressure spreads oil rather than lifting it.
- Avoid acid-based cleaners on natural stone. Acid etches sandstone and limestone irreversibly.
Pro Tip: Avoid directing the lance into joints at all if you can help it. Work at a shallow angle across the slabs and let the water carry debris away naturally. This preserves jointing sand and keeps the patio stable.
Post-power washing care: sealing and keeping your patio clean
Washing the patio is only half the job. What you do afterwards determines how long it stays clean.
- Allow the surface to dry completely before applying any sealant. Sealants need a dry substrate to bond correctly, typically at least 24–48 hours of dry weather.
- Apply sealant during mild weather, ideally between 10–20°C. Late april through to june is the best window for most UK properties. A properly applied sealant provides 3–5 years of protection, slowing algae regrowth and reducing staining.
- Re-sand block paving joints after washing. Pressure washing disturbs joint sand, and leaving gaps encourages weed growth and slab movement. Re-sanding every 12–18 months after washing keeps the patio stable.
- Sweep the patio regularly through autumn to prevent leaf debris from staining the surface.
- Spot-clean spills and BBQ marks promptly with warm water and a mild detergent rather than waiting for the annual deep clean.
- A light biocidal wash in late autumn or early winter slows moss and algae from taking hold during the wetter months.
For more on exterior maintenance schedules that keep outdoor surfaces in good condition year-round, Sherrypropertycare's blog covers practical seasonal care.
What are the alternatives to power washing a patio?
Not every patio needs a pressure washer. For sensitive surfaces, weathered stone, or patios with compromised joints, manual soft cleaning is often the safer and more appropriate choice.
- Stiff-bristle brush with warm soapy water: The safest method for any surface. Pre-rinse with a garden hose, scrub in sections, then rinse thoroughly. Effective for general dirt and light algae on all materials including sandstone and limestone.
- White vinegar and water mixture: Apply generously, leave for 10–20 minutes, scrub, then rinse. Useful for mild algae and moss on concrete or porcelain. Avoid on natural stone as the acidity can cause surface damage over time.
- Biological cleaners: Applied with a watering can or garden sprayer, these break down organic growth over 7–14 days without scrubbing. Safe for plants, drainage, and all patio materials. A good choice when you want results without physical effort or risk.
- Garden hose with a jet attachment and scrubbing brush: Effective for delicate stone like sandstone or limestone where even low-pressure washing carries risk. Combine with a pH-neutral cleaner for best results.
Manual methods are preferable when joints are weak or crumbling, when the surface shows cracks or flaking, or when the patio is limestone. For a detailed comparison of pressure washing versus soft washing techniques, including when each approach is appropriate, that resource covers the key differences clearly.
Expert insights on power washing patios safely
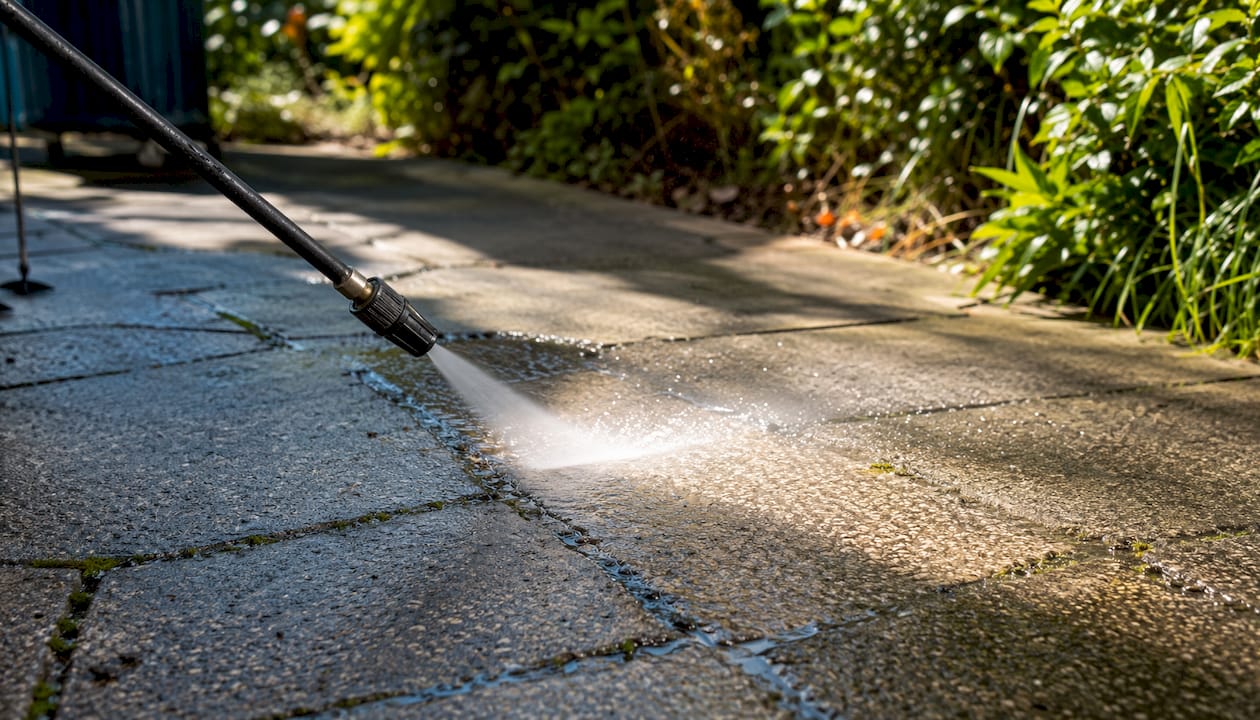
The consistent message from UK property care professionals is that technique matters far more than raw power.
Key principles that professionals apply on every job:
- Material identification comes before any equipment decision. Choosing the wrong pressure for the surface causes damage that cannot be undone.
- Shallow lance angles and constant sweeping motion prevent streaking and surface erosion. Directing the lance straight down is the most common cause of joint failure.
- Test patches are non-negotiable, particularly on older patios or any natural stone surface.
- Rinsing is a two-step process, not an afterthought. Residual cleaner left on the surface attracts dirt and can degrade the material over time.
- Planning for joint re-sanding after washing is part of the job, not an optional extra.
At Sherrypropertycare, based in Dublin, the same principles apply to every grounds maintenance job. Whether it is a residential patio in Clonsilla or a commercial property in the city centre, the approach starts with the surface, not the machine. If you would like a personalised quote for your property, get in touch with Sherrypropertycare and send a photo of your patio for an accurate assessment.

Key takeaways
Power washing a patio safely requires matching pressure settings and nozzle choice to the surface material, preparing the area thoroughly, and following a careful two-stage rinse and sealing routine.
| Point | Details |
|---|---|
| Match pressure to material | Concrete and porcelain tolerate 1,500–2,000 PSI with a 25-degree nozzle; natural stone needs under 1,200 PSI with a 40-degree nozzle or manual scrubbing. |
| Always test first | Start at the lowest setting on a hidden area before washing the full surface. |
| Protect joints | Work at a shallow angle across joints, never directly into them, to preserve jointing sand. |
| Rinse in two stages | First remove dirt and detergent, then flush with clean water to prevent streaking. |
| Seal after washing | A sealant applied in dry, mild weather provides protection lasting several years. against algae and staining. |
FAQ
What should you put on a patio before pressure washing?
Pre-wet the surface with a garden hose to prevent porous materials from absorbing cleaning chemicals too quickly. If using a detergent or biological cleaner, apply it after pre-wetting and allow it to dwell for the manufacturer's recommended time before washing.
Should you pressure wash a patio?
Pressure washing is safe and effective for concrete, porcelain, granite, and block paving. Avoid it on soft or weathered natural stone, patios with crumbling joints, or limestone, where manual scrubbing with a pH-neutral cleaner is the safer choice.
What is the best pressure and angle for washing a patio?
Hold the lance at a 30–45 degree angle approximately 30cm from the surface, using a 25-degree fan nozzle for concrete or porcelain and a 40-degree nozzle for natural stone. Never aim straight down and never hold the jet on one spot.
Is it too early to power wash a patio in spring?
Spring from march to may is generally the best time to pressure wash a patio in the UK. Mild temperatures and reasonable drying conditions make it ideal. Avoid washing during frost or when temperatures are consistently below 10°C, as water left on surfaces can freeze and cause damage.
How often should you clean and reseal a patio?
Most UK patios benefit from a thorough clean once or twice a year, with april being the recommended month for an annual deep clean. Reseal after washing and allow 24–48 hours of dry weather before application. Block paving joints typically need re-sanding every 12–18 months after pressure washing.