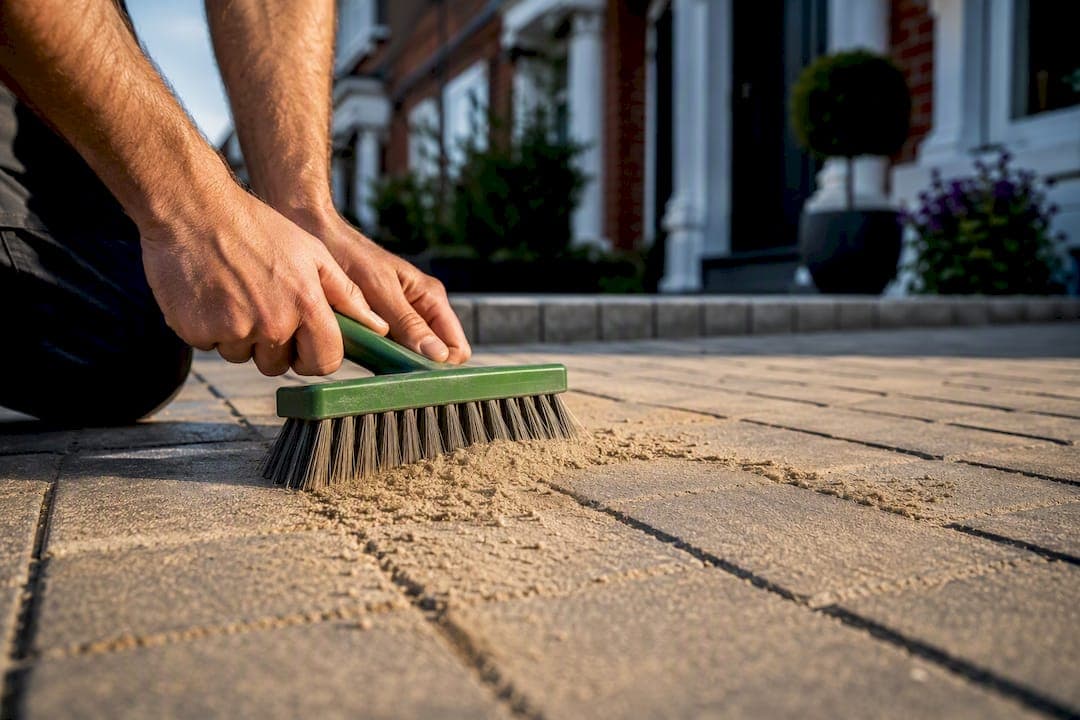
Re-sand your block paving as soon as you spot open gaps, wobbly blocks, or a fresh flush of weeds between the joints, especially after a deep clean. The job needs kiln-dried sand and a bone-dry surface, nothing else works reliably. Both PavingExpert and Sherry Property Care point to the same three triggers: gaps, movement, and post-wash joint loss.
TL;DR:
- Re-sand your block paving immediately when you notice gaps, movement, or weed growth, especially after cleaning, with kiln-dried sand for best results.
- Inspect regularly, at least once a year, on high-traffic, shaded, or overhanging areas, rather than following a fixed schedule.
- Use a stiff broom for brushing in sand and a wire brush for cleaning moss or grit, ensuring the surface is fully dry before re-sanding.
- Avoid quick fixes by only top up joints if less than a third of the joint depth has been lost; deep re-jointing is necessary if most of the sand has washed out.
- Consider professional re-sanding and sealing if the driveway is large, repeatedly washes out, or blocks keep rocking despite DIY attempts.
Table of Contents
- Why re-sanding matters for block paving stability
- When should you re-sand block paving?
- What tools and materials do you need for re-sanding?
- How to re-sand block paving step by step
- Should you seal or stabilise the sand afterwards?
- Common mistakes when re-sanding block paving
- Handling waste sand and cleaning materials responsibly
- Practical notes from Sherry Property Care
- Get a quote for driveway cleaning and re-sanding in Dublin
- Sources
- FAQ
Why re-sanding matters for block paving stability
Jointing sand isn't cosmetic filler. It locks each block against its neighbours, spreading wheel and foot loads sideways instead of letting individual pavers take the full hit. Once that sand washes out or breaks down, blocks rock, edges chip, and the whole surface starts to wander. PavingExpert notes that jointing sand is genuinely structural, not decorative, and replacing it preserves the interlock that carries weight across the driveway.
Full joints also do a second job: they choke off the gaps where weed seeds and moss spores settle, and they help rainwater find its way down through the joints rather than pooling on the surface.
- Interlock and load spread across neighbouring blocks
- Weed and moss suppression through sealed joints
- Better surface drainage, less standing water
A quick top-up with a broom is different from a full re-joint. If more than a third of the joint depth has gone, you're looking at deeper re-jointing work, not a light dusting of sand.
When should you re-sand block paving?
Don't work off a calendar. Joints in a shaded, north-facing driveway lose sand faster than ones baking in full sun, and a heavily trafficked entrance wears differently to a rarely used side path. Walk the surface instead and look for these signs.
- Visible gaps or dips between blocks where sand has clearly dropped
- Blocks that rock, shift, or click underfoot
- A noticeable jump in weed or moss growth along the joint lines
- Any recent jet-washing or deep clean, which almost always strips joint sand along with the dirt
Bradstone recommends inspecting regularly and acting the moment any of these show up, rather than waiting for a fixed schedule. As a working rhythm, check once a year at minimum, and more often on driveways that see heavy vehicle traffic or sit under overhanging trees.
What tools and materials do you need for re-sanding?
Kiln-dried jointing sand is the standard choice. It's been dried to remove moisture, which lets it flow freely into narrow joints instead of clumping on top. Ordinary building sand or damp sand simply won't do this job.
Polymeric sand is worth knowing about too. It contains binding additives that harden once wet, giving stronger resistance to washout, and it suits driveways with wider joints or a history of repeated sand loss. It costs more and needs more careful handling during application, so it's better suited to problem areas than routine annual top-ups.
For brushing, a stiff outdoor broom works for everyday brushing-in. For deeper cleans beforehand, a dedicated wire block-paving brush, such as the Ambassador brush with scraper, lifts moss and grit that a standard broom leaves behind. A leaf blower speeds up drying time on a breezy day.
- Kiln-dried jointing sand (or polymeric sand for problem joints)
- Stiff broom for brushing-in
- Wire block-paving brush for cleaning
- Leaf blower to hasten drying
- Optional: plate compactor for large driveways, scraper or weed knife, hose with a fine nozzle
- Gloves and eye protection, since kiln-dried sand throws up fine dust
How to re-sand block paving step by step
Get this sequence right and the sand stays put for years rather than washing away in the first heavy rain.
- Prepare the surface. Clear leaves and loose debris, dig out any weeds with a scraper or weed knife, and clean with a fan-spray setting rather than a narrow jet, which can blast sand straight out of the joints.
- Let it dry fully. This is the step people rush, and it's the one that ruins the job. Drying time depends heavily on weather: Pureseal estimates roughly 4 to 8 hours in hot, sunny conditions, 12 to 24 hours when it's mild and cloudy, and 24 to 48 hours in cool, damp weather.
- Spread the kiln-dried sand. Tip it across the surface and work it into the joints using a stiff broom, brushing diagonally across the joint lines rather than straight along them, which pushes more sand down rather than across the top.
- Repeat until joints are full. Keep adding and brushing until the sand sits level with the top of each block, topping up any joints that settle lower than the rest.
- Settle and compact. On a small path, walking over the surface and normal foot traffic is usually enough to bed the sand in. For a full driveway, Pureseal advises that a plate compactor gives a more reliable long-term fill than gravity alone. Either way, top up any joints that drop after compacting and re-brush.
- Clean off excess. Sweep any surplus sand off the block faces so it doesn't grind against the surface or get walked into the house, then leave the area free of heavy traffic for 24 to 48 hours while it settles.
Pro Tip: If a day looks borderline, don't gamble on it. Practitioners avoid applying kiln-dried sand on damp days entirely, and use a leaf blower to clear surface moisture from awkward corners rather than trying to sand around them.
Should you seal or stabilise the sand afterwards?
Sealing and sand stabilisers both aim to keep new jointing sand where you just put it, but they work differently and suit different situations.
A sealer coats the block surface and joints, locking sand in place and often deepening the colour of the paving. It gives strong protection against washout but needs the surface completely dry and stable before application, and it typically needs reapplying every few years depending on traffic and weather exposure.
A sand stabiliser binds the joint material itself rather than coating the surface, and generally costs less than a full seal, though it tends to have a shorter working lifetime. Weigh cost against how long you want the fix to last before choosing one over the other, since a comparison of sealer performance shows results vary a lot depending on the product and the surface.
- Only seal once joints have fully settled and dried, never straight after re-sanding
- Spot-treat weeds as they appear rather than waiting for a full re-sand
- Give the driveway a light clean annually, and check joints again after any storm or pressure wash
Common mistakes when re-sanding block paving
Most re-sanding failures trace back to one of a handful of avoidable errors.
- Sanding a damp surface. Sand clumps on top instead of dropping into the joint, then washes away with the next rain. Fix it by waiting the full drying window before starting again.
- Over-aggressive pressure washing. A narrow jet strips joint sand along with the grime, sometimes right down to the bedding layer. If that's happened repeatedly, a deep re-joint is the more durable fix rather than another light top-up.
- Sand tracked into the house. Sweep the surface thoroughly and let it settle for the full 24 to 48 hours before anyone walks sand-covered shoes indoors.
- Stubborn residue on block faces. A dry broom followed by a light water mist usually shifts it without disturbing the joints.
Pro Tip: If you've re-sanded the same section three times in two years and it keeps washing out, that's not a sanding problem, it's a drainage or bedding problem underneath. A professional restoration is worth requesting at that point.
Handling waste sand and cleaning materials responsibly
Re-sanding produces more waste than most people expect: old jointing sand, moss and weed debris, and swept-up grit from cleaning beforehand. Treat it as garden waste, not something to hose down a drain. Sweeping loose material into a drain or gully sends silt and any residual moss-killer straight into the surface water system, and Irish local authority guidance generally treats that as a discharge to be avoided rather than a minor inconvenience.
Bag dry sweepings and dispose of them with household or garden waste rather than washing them away. If you've used a weed treatment on the joints beforehand, check the product label for disposal instructions, since some formulations shouldn't go into general waste at all.
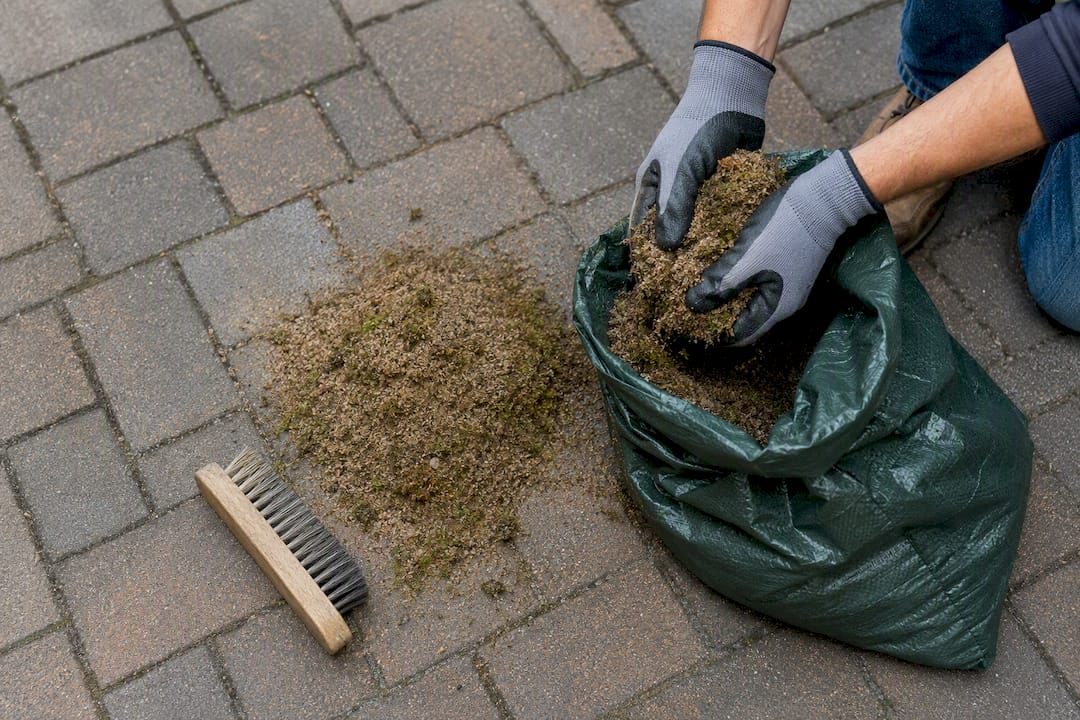
Kiln-dried sand itself is inert and poses no particular hazard once swept up, but buy only what the job needs. Overordering just means a half-used bag sitting in the shed, and a bag left open in damp Irish weather clumps and becomes unusable within weeks.
If you're clearing moss or algae as part of the prep work, avoid harsh bleach-based treatments where you can. They're effective, but run-off from bleach-treated joints can affect nearby planting beds and lawn edges. A stiff wire brush, such as the Miracle block paving brush, often shifts moss mechanically without needing chemicals at all, which is both kinder to your garden and one less thing to dispose of afterwards.
Practical notes from Sherry Property Care
Most re-sanding call-outs we see in Dublin follow the same pattern: a driveway that's been pressure-washed once too often, with joints stripped bare in the tyre paths. A typical job runs to a day, clean, dry, sand, compact, tidy up, sometimes two if sealing follows once everything's settled. Request a quote when the area's large, blocks keep rocking after a DIY top-up, or the same joints wash out again within a season.
— gerard
Get a quote for driveway cleaning and re-sanding in Dublin
If your driveway needs more than a bag of sand and a free Saturday, Sherry Property Care is the practical alternative to spending a weekend on your knees with a broom. We handle the full sequence, cleaning, drying time, kiln-dried re-sanding, and sealing if you want it, so the joints are done properly the first time rather than needing another go in six months.

Send us a few photos of the driveway and a rough measurement of the area, and we'll put together a tailored quote based on the actual condition of the joints, not a guess. We cover Dublin and the surrounding areas, and jobs typically move from quote to completed work within days rather than weeks. If your paving falls into that category covered in our driveway maintenance guide, heavy traffic, repeated washout, visible rocking, get in touch through Sherrypropertycare and request your quote today.
Sources
- How to Re-Sand Block Paving: A Step-by-Step Guide
- Block Paving Refurbishment - Re-jointing
- How to Clean Block Paving and Re-Sand It - Pureseal Services
- Ambassador block paving brush, patio and driveway brush, APWB10
- Miracle block paving brush | Burgon & Ball
FAQ
How often should you re-sand block paving?
Inspect at least once a year, but re-sand whenever you see gaps, rocking blocks, or extra weed growth rather than sticking to a fixed schedule. High-traffic or shaded areas usually need attention more often.
Do you wet block paving after sanding?
No, a light misting can help settle sand into stubborn corners, but the surface must be fully dry before you start, and it needs 24 to 48 hours to settle before heavy traffic or rain.
What type of brush is best for re-sanding block paving?
A stiff outdoor broom works for everyday brushing-in, while a dedicated wire block-paving brush, such as an Ambassador-type brush, handles deeper cleaning and moss removal beforehand.
How do you reapply sand to pavers?
Spread kiln-dried sand across the dry surface, brush it diagonally into the joints until they're full, compact with foot traffic or a plate compactor on larger areas, then sweep off any excess.
Should I hire a professional to re-sand my driveway?
DIY suits small paths and light top-ups. For larger driveways, repeated washout, or blocks that keep rocking after your own attempts, a service like Sherry Property Care can carry out cleaning, re-sanding, and sealing in one visit.