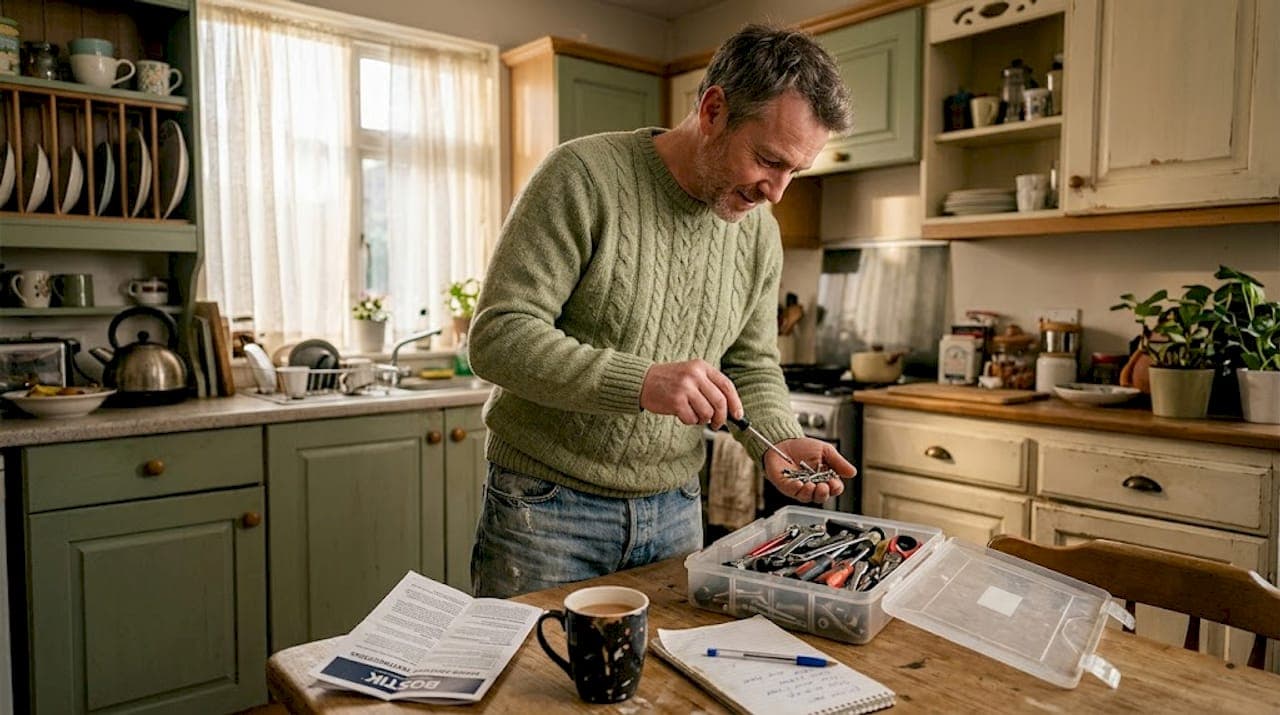
TL;DR:
- Tackling residential repairs step by step ensures lasting fixes and prevents costly failures.
- Proper preparation, testing, and prioritization of safety and structural issues are essential for DIY success.
Tackling residential repairs step by step is the difference between a fix that lasts and one that fails within months. Many Dublin homeowners spend hundreds on call-out fees for jobs they could confidently handle themselves with the right preparation and a clear process. A single dripping faucet wastes up to 3,000 gallons of water per year, and minor roof damage left untreated quickly becomes a costly structural problem. This guide covers plumbing, roofing, repair prioritisation, and testing methods so you can work through your home's maintenance list with confidence.
Table of Contents
- Key takeaways
- Tools and materials for residential repairs
- Step-by-step plumbing repairs for beginners
- Minor roof shingle repairs: step-by-step
- Prioritising repairs: what to fix first
- Testing and verifying your repairs
- My take on getting repairs right
- How Sherrypropertycare can help Dublin homeowners
- FAQ
Key takeaways
| Point | Details |
|---|---|
| Preparation prevents failures | Gather tools, read manuals, and organise your workspace before starting any repair. |
| Plumbing repairs are beginner-friendly | A leaky faucet can be fixed in under an hour for less than €20 with basic tools. |
| Roofing has clear DIY limits | Minor shingle repairs are safe for slopes at or below 6:12 pitch with fewer than 10 damaged shingles. |
| Prioritise by tier | Address safety and structural repairs first; cosmetic fixes can wait. |
| Always test before finishing | Pressure-test and run systems before closing up walls or reassembling components. |
Tools and materials for residential repairs
Before you start any step by step home fixes, getting your tools and materials sorted saves time and prevents mid-job trips to the hardware shop. The table below covers the core items for the three main repair categories in this guide.
| Tool or material | Use | Safety note |
|---|---|---|
| Adjustable wrench (x2) | Plumbing connections | Prevents twisting and cracking fittings |
| Flathead and cross-head screwdrivers | Fixture removal and tightening | Use correct size to avoid stripping screws |
| Roofing nails (galvanised) | Shingle replacement | Wear gloves; sharp edges |
| Asphalt roofing cement | Sealing shingles | Ventilate area; avoid skin contact |
| Replacement washers and cartridges | Faucet and supply line repair | Match exact model before purchasing |
| Safety goggles and gloves | All repairs | Non-negotiable for any task |
| Torch or work light | Low-light areas | Reduces errors in confined spaces |
| Knee pads | Roofing and floor-level work | Protects joints on hard surfaces |
| PTFE tape | Thread sealing in plumbing | Wrap in direction of thread only |
When selecting materials, always go for quality over price. Cheap washers fail quickly. Asphalt roofing cement from a recognised brand bonds correctly; silicone caulk fails to bond properly for shingle repairs and should never be substituted.
Organise your workspace before you start. Clear the area, set up good lighting, and lay tools out in the order you will use them. For plumbing work under a sink or behind a toilet, a head torch is worth its weight.
Pro Tip: Before starting any repair, locate the relevant section of the manufacturer's manual or an exploded-view diagram for your specific fixture or fitting. Professionals rely on factory manuals to identify hidden fasteners and correct disassembly sequences that generic instructions miss.
Step-by-step plumbing repairs for beginners
Leaky faucets and toilet supply lines are among the most common household problems Dublin homeowners face. A typical DIY faucet repair costs under €20 and takes 30 to 90 minutes, compared to €100 to €250 for a plumber call-out. Here is the full process.
Fixing a leaky faucet
- Turn off the water supply. Locate the isolation valve under the sink and turn it clockwise until it stops. If there is no isolation valve, turn off the mains supply. Open the faucet to release remaining pressure and drain residual water.
- Remove the faucet handle. Look for a decorative cap on top of the handle. Pop it off with a flathead screwdriver to expose the screw underneath. Remove the screw and lift the handle straight off.
- Inspect and replace the washer or cartridge. For a compression faucet, the rubber washer at the base of the stem is almost always the culprit. Unscrew the stem and replace the washer. For a cartridge faucet, pull out the cartridge and bring it to a hardware shop in Dublin to match the replacement exactly.
- Reassemble in reverse order. Seat the new washer or cartridge, replace the stem, refit the handle, and tighten the screw. Do not overtighten; firm is enough.
- Test the repair. Turn the isolation valve back on slowly. Let water flow and check for drips around the base and handle. Run both hot and cold settings for two minutes.
Replacing a toilet supply line
- Shut off the isolation valve behind or beneath the toilet, turning clockwise.
- Flush the toilet to empty the cistern and reduce water spillage.
- Disconnect the old supply line. Use two wrenches: one wrench holds the stationary fitting while the other turns the nut. This prevents cracking the ceramic inlet or plastic connector.
- Fit the new supply line. Hand-tighten first, then use a wrench to add a quarter turn. Do not over-tighten; this causes leaks at the joint.
- Restore the water supply and test. Open the valve slowly, let the cistern fill, and check every connection point for moisture.
Pro Tip: Wrap PTFE tape around threaded connections in the direction of the thread before tightening. This reduces the chance of slow leaks at joints, which are common with older fittings in Dublin's hard water areas.
Minor roof shingle repairs: step-by-step
Roof repairs are one of the home improvement projects Dublin homeowners often delay, usually because they seem daunting. Minor repairs are suitable for DIY when you are dealing with 10 or fewer shingles, a slope at or below 6:12 pitch, and temperatures above 4°C.
Before you climb
- Only work on a dry day with no wind. Dublin weather is unpredictable; check the forecast the evening before.
- Wear rubber-soled boots, knee pads, and a safety harness anchored to a ridge anchor point.
- Have a second person on the ground to stabilise the ladder and pass materials.
- Inspect the area from the ground with binoculars first to confirm the scope of damage.
The repair process
- Slide a pry bar under the damaged shingle. Lift carefully to expose the nails. Remove the nails holding the damaged shingle without disturbing the ones in adjacent shingles.
- Slide the old shingle out. Work gently to avoid cracking neighbouring shingles, particularly in cold conditions when asphalt becomes brittle.
- Slide the new shingle into position. Align it with the shingles on either side. Match the colour and profile as closely as possible for a clean finish.
- Nail within the printed nailing zone. This is critical. Nailing outside the nailing zone is the most common DIY mistake and causes shingles to lift and blow off in wind. Use four galvanised roofing nails per shingle, one at each corner of the nailing strip.
- Apply asphalt roofing cement under the shingle edges. Press down firmly so the adhesive bonds. Apply a thin bead around each nail head for waterproofing.
- Inspect the repair. Check the following once back on the ground: straight alignment with surrounding shingles, no lifted edges, no exposed nail heads, and no gaps in the sealant line.
Here is a quick comparison of materials to use and avoid:
| Material | Suitable for shingle repair | Notes |
|---|---|---|
| Asphalt roofing cement (Henry 208) | Yes | Bonds correctly with asphalt shingles |
| Silicone caulk | No | Does not bond to asphalt; fails quickly |
| Galvanised roofing nails | Yes | Resists corrosion in wet Dublin conditions |
| Standard woodscrews | No | Not rated for roofing; will corrode |
Prioritising repairs: what to fix first
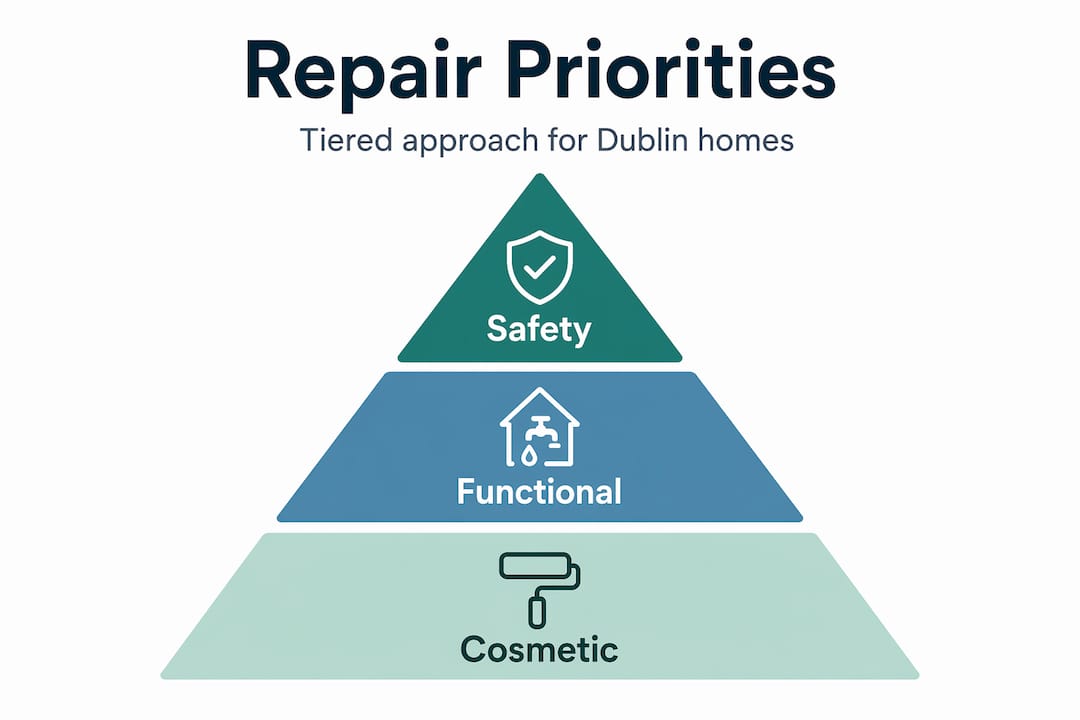
Not every repair demands the same urgency. Homeowners should prioritise repairs based on risk level and how one failing system affects others. The three-tier model keeps you focused on what matters most.
Tier 1: Safety and structural. These repairs are non-negotiable. Roof leaks, faulty electrics, gas connections, and structural cracks belong here. In Dublin's damp climate, roof integrity directly affects everything beneath it. Address these before anything else.
Tier 2: Functional. These affect daily comfort and, if left, become expensive. Leaky faucets, broken heating controls, and failed window seals fall into this category. HVAC servicing costs approximately €100 to €200 and significantly improves buyer confidence if you are selling. Functional repairs also prevent Tier 1 problems from developing.
Tier 3: Cosmetic. Scuffed paintwork, worn flooring, and dated fixtures are discretionary. They matter for presentation, especially if you are preparing a Dublin property for sale or rental, but they do not affect safety or function. Deal with them after the first two tiers are resolved.
Seasonal timing matters too. Dublin homeowners benefit from addressing roofing and exterior repairs in late summer or early autumn before wet weather arrives. Plumbing checks are best done in autumn before the first frost.
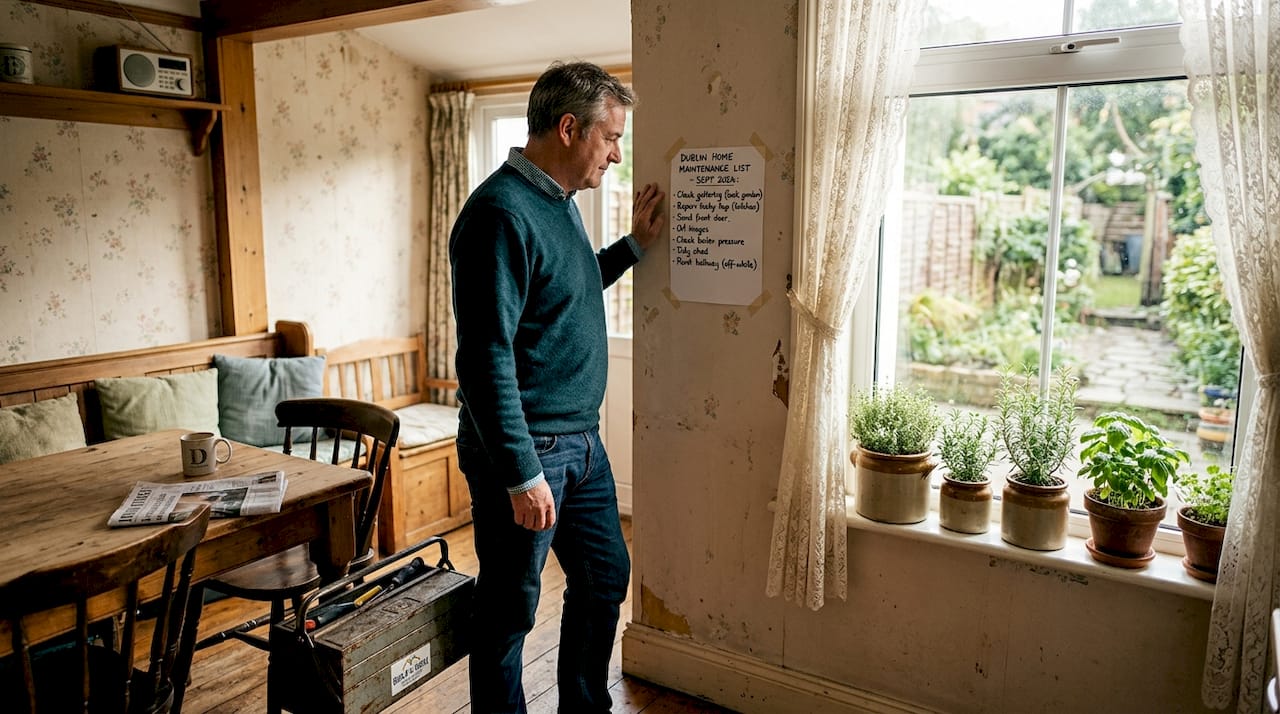
Pro Tip: Keep a rolling maintenance list divided by tier. Review it quarterly. Small repairs dealt with early cost a fraction of what they cost when ignored. This approach also helps you balance ongoing maintenance costs rather than face large unexpected bills.
Testing and verifying your repairs
Completing a repair is not the same as finishing it. Skipping the testing stage is how most post-repair failures happen.
For plumbing, turning off specific valves before work and restoring them systematically afterwards allows you to isolate a problem quickly if a new leak appears. Do not restore full supply pressure all at once. Open the valve slowly and watch every joint before moving on.
For roofing, wait for the next rainfall and then inspect the loft space for moisture, damp patches on the ceiling below the repair, and any daylight visible through the roof boards. A successful repair shows none of these signs.
Here are the final checks to carry out before calling any repair complete:
- Plumbing: Run both hot and cold water for five minutes. Check under every connection point with dry tissue paper to detect the smallest drip.
- Roofing: From inside the loft, shine a torch along the underside of the repaired area after a rain event. Look for water staining or wet timber.
- General fixtures: Operate the repaired item through its full range (open and close a valve fully, flush a toilet three times, turn a faucet on and off repeatedly) to confirm consistent performance.
- Sealants and adhesives: Allow full cure time before stress-testing. Asphalt roofing cement needs at least 24 hours.
Pro Tip: Pressure-testing before reassembly is what separates a lasting repair from one that fails within weeks. Do not skip this step for any plumbing or HVAC work. It takes ten minutes and saves hours of remedial work.
My take on getting repairs right
I have seen a pattern with DIY repairs over the years, and it almost always comes down to the same thing: people rush. They skip reading the manual, substitute the wrong material because they already have it in the shed, or skip testing because the repair "looks fine." Every single one of those shortcuts adds up to a callback.
The repairs that last are the ones where the homeowner took ten minutes at the start to gather the right parts, read through the process once, and then worked through it methodically. Confidence comes from preparation, not experience. A first-timer who reads the instructions carefully and tests their work will outperform a casual DIYer who has done it a dozen times and still rushes.
Safety and structural repairs deserve your attention before anything cosmetic. A fresh coat of paint on a wall with a slow plumbing leak behind it is money wasted. Get the invisible problems sorted first. The exterior and grounds of your property deserve the same structured thinking. Do not overlook them once the interior is sorted.
Build your repair confidence through practice on low-stakes jobs first. Fix the dripping faucet before you attempt the boiler pressure valve. Get comfortable with the process, and the harder jobs become much less intimidating.
— gerard
How Sherrypropertycare can help Dublin homeowners

Not every repair is a DIY job, and knowing when to call in a professional is as valuable as knowing how to do it yourself. Sherrypropertycare works with homeowners and landlords across Dublin, offering reliable property care services that keep homes looking well and holding their value.
From grounds maintenance and seasonal upkeep to exterior care, Sherrypropertycare's team understands what Dublin properties need throughout the year. If your repair list has grown beyond what you want to tackle alone, or you simply want a professional set of eyes on your property, get in touch with Sherrypropertycare today. Send a photo of the area you need help with, and the team will come back to you with a tailored quote. Keeping your home in good order does not have to be complicated.
FAQ
How long does a DIY faucet repair take?
A basic faucet washer replacement takes 30 to 60 minutes for a beginner. Replacing a cartridge, including sourcing the correct part, can take up to 90 minutes.
What repairs should I do before selling my Dublin home?
Address Tier 1 safety and structural repairs first, followed by functional issues like plumbing and heating. Cosmetic fixes have the least impact on sale price relative to cost.
Can I replace roof shingles myself?
Yes, for minor damage of 10 or fewer shingles on a slope at or below 6:12 pitch and in dry conditions above 4°C. Use asphalt roofing cement and nail within the printed nailing zone on every shingle.
How do I check a plumbing repair is not leaking?
Run the repaired fixture for five minutes and check every joint with dry tissue paper. Any moisture on the tissue indicates a slow leak that needs attention before the repair is complete.
When should I call a professional instead of doing it myself?
Call a professional for any repair involving structural elements, gas connections, electrics, or extensive roofing damage. For everything else, preparation and a clear step-by-step process make most residential repairs manageable for a capable homeowner.